


As a supplier of Sticky Dot Labels, I often get asked how to ensure these labels stick properly. It's a crucial question, especially when you're relying on these labels for important tasks like product identification, organization, or branding. In this blog, I'll share some tips and tricks that I've learned over the years to help you get the best adhesion from your Sticky Dot Labels.
Surface Preparation
The first step in ensuring your Sticky Dot Labels stick properly is to prepare the surface where you'll be applying them. A clean and dry surface is essential for good adhesion. Dirt, dust, grease, or moisture can prevent the label from sticking firmly.
For smooth surfaces like glass, plastic, or metal, you can use a mild detergent and water to clean the area. Make sure to rinse thoroughly and dry completely before applying the label. If the surface is rough or porous, such as wood or cardboard, you may need to sand it lightly to create a more even surface. This helps the adhesive on the label to bond better.
Another thing to consider is the temperature of the surface. Labels tend to adhere better to surfaces that are at room temperature. If the surface is too cold, the adhesive may not work as effectively. On the other hand, if it's too hot, the adhesive can become too soft and may not hold the label in place. So, try to apply the labels in an environment where the temperature is around 20 - 25 degrees Celsius.
Label Application
Once the surface is prepared, it's time to apply the Sticky Dot Labels. Here are some steps to follow for a proper application:
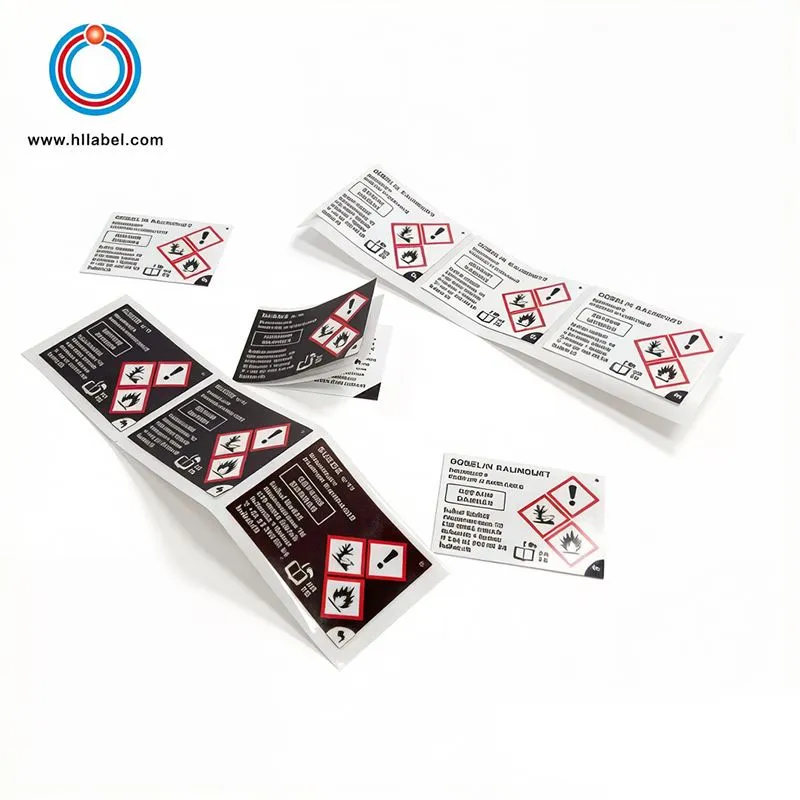
- Peel the backing slowly: Start by peeling a small corner of the backing paper. Hold the label by the edge and peel the backing paper away slowly. This helps to prevent the label from wrinkling or curling.
- Align the label correctly: Place the label on the surface where you want it to go. Make sure it's aligned properly before pressing it down. You can use a ruler or a straight edge to help with alignment if needed.
- Press firmly: Once the label is in place, press it down firmly with your fingers or a squeegee. Start from the center of the label and work your way out to the edges. This helps to remove any air bubbles and ensures that the label is fully adhered to the surface.
- Smooth out the label: After pressing the label down, use your fingers or a soft cloth to smooth out any wrinkles or bumps. This gives the label a professional look and also helps to improve adhesion.
Type of Labels
Not all Sticky Dot Labels are created equal. Different types of labels are designed for different applications and surfaces. Here are some common types of labels and their best uses:
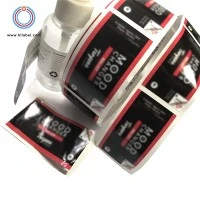
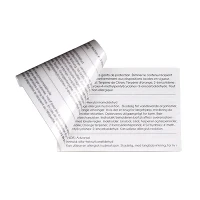
- Transparent Sticky Labels: These labels are great for applications where you want the underlying surface to show through. They're often used for product labeling, price tags, and decorative purposes. Transparent labels can be applied to a variety of surfaces, including glass, plastic, and metal.
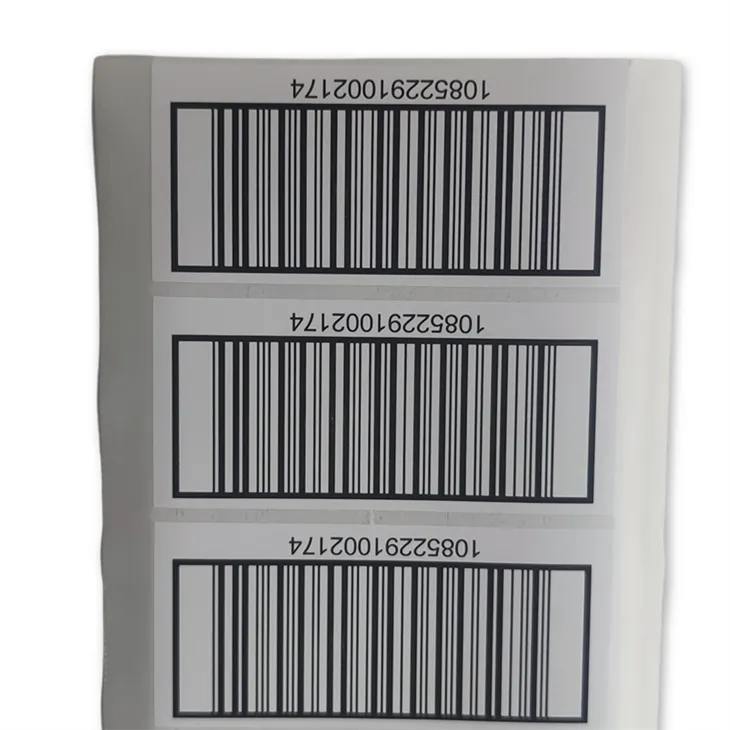
- Sticky Barcode Labels: Barcode labels are essential for inventory management, retail, and shipping. They need to be durable and able to withstand various environmental conditions. Sticky barcode labels are designed to adhere well to different surfaces and are resistant to smudging and fading.
- Non Adhesive Printable Labels: These labels are used when you need to print your own text or graphics. They can be attached to surfaces using other methods, such as glue or tape. Non adhesive printable labels are often used for temporary or custom labeling applications.
Storage and Handling
Proper storage and handling of Sticky Dot Labels are also important for ensuring good adhesion. Here are some tips:
- Store in a cool, dry place: Labels should be stored in a cool and dry environment to prevent the adhesive from drying out or becoming too sticky. Avoid storing them in direct sunlight or in areas with high humidity.
- Keep the labels flat: When storing the labels, make sure they're kept flat to prevent them from curling or warping. You can use a label storage box or a flat surface to keep them organized.
- Handle with clean hands: When handling the labels, make sure your hands are clean and dry. Oils and dirt from your hands can transfer to the label and affect its adhesion.
Troubleshooting
Even if you follow all the steps above, you may still encounter some problems with label adhesion. Here are some common issues and how to solve them:
- Labels don't stick: If the labels don't stick, it could be due to a dirty or oily surface, a low-quality adhesive, or incorrect application. Try cleaning the surface again and reapplying the label. If the problem persists, you may need to use a different type of label or adhesive.
- Labels peel off easily: This could be caused by a weak adhesive or a surface that's not suitable for the label. Try using a stronger adhesive or a label that's designed for the specific surface. You can also try applying more pressure when pressing the label down.
- Air bubbles under the label: Air bubbles can be a common problem, especially when applying large labels. To remove air bubbles, use a pin or a needle to puncture the bubble and then press the label down firmly to smooth it out.
Conclusion
Ensuring that your Sticky Dot Labels stick properly is essential for a successful labeling project. By following the tips and tricks outlined in this blog, you can improve the adhesion of your labels and avoid common problems. Remember to prepare the surface, apply the labels correctly, choose the right type of label, and store and handle them properly.
If you're interested in purchasing Sticky Dot Labels or have any questions about our products, feel free to reach out to us. We're here to help you find the best labeling solutions for your needs.
References
- "Labeling Best Practices," Label Manufacturers Institute
- "Adhesive Technology: Principles and Applications," CRC Press